This post may contain affiliate links to products or services mentioned, and we may receive an affiliate commission for any purchases made by you on the affiliate website using such links.
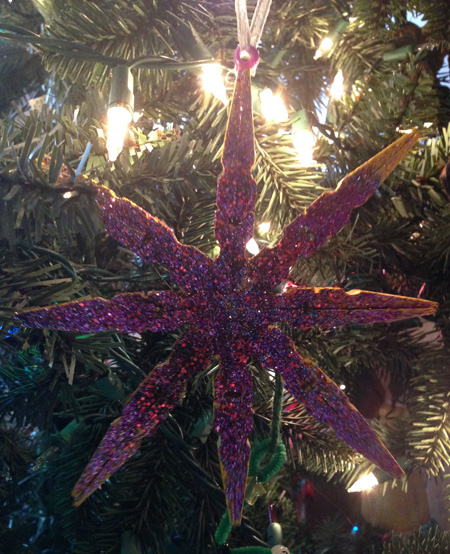
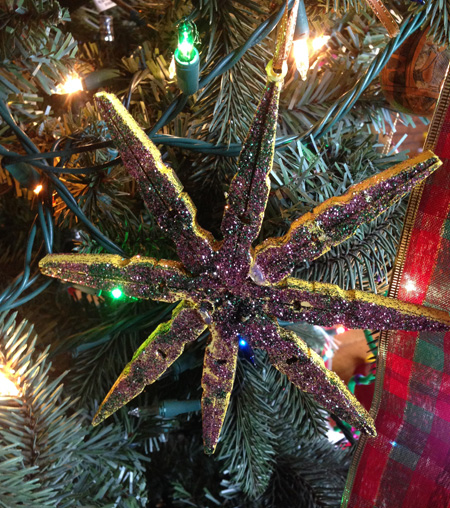
By now, I’m sure you realize that we love glitter. Or at least my kids do. So, they loved making these DIY Christmas Star Ornaments, and I LOVE watching them sparkle on our Christmas tree.
To be honest, I wasn’t sure how this craft would work out so I didn’t take photos of the process, but it’s pretty simple so no worries!
First, you will need 8 Wooden Clothespins for each star.
Take each clothespin apart by removing the piece of metal that holds the two pieces together. Next, glue the two pieces together back to back…which means opposite of how they are before you take them apart. I used hot glue for this, but craft glue
will work as well. You will just need to hold them together a bit longer.
After you have put all the clothespins back together the opposite way, glue two of the glued Wooden Clothespins
together end to end. The thin ends should face outward in opposite directions.
When the glue dries, glue another glued clothespin to either side of the middle. The pieces will fit in perfectly and form a cross.
When the glue dries, glue a pin in each of the four corners, forming a star.
To hang the ornaments, we glued a pony bead to the top of the star and ran a ribbon through it.
To decorate, the kids began by painting the stars yellow then adding glitter. Lots of glitter
.
They enjoyed it, and I hope you will, too!

P.S. The links in this post are affiliate links.

